With everything ready, I had no excuse.
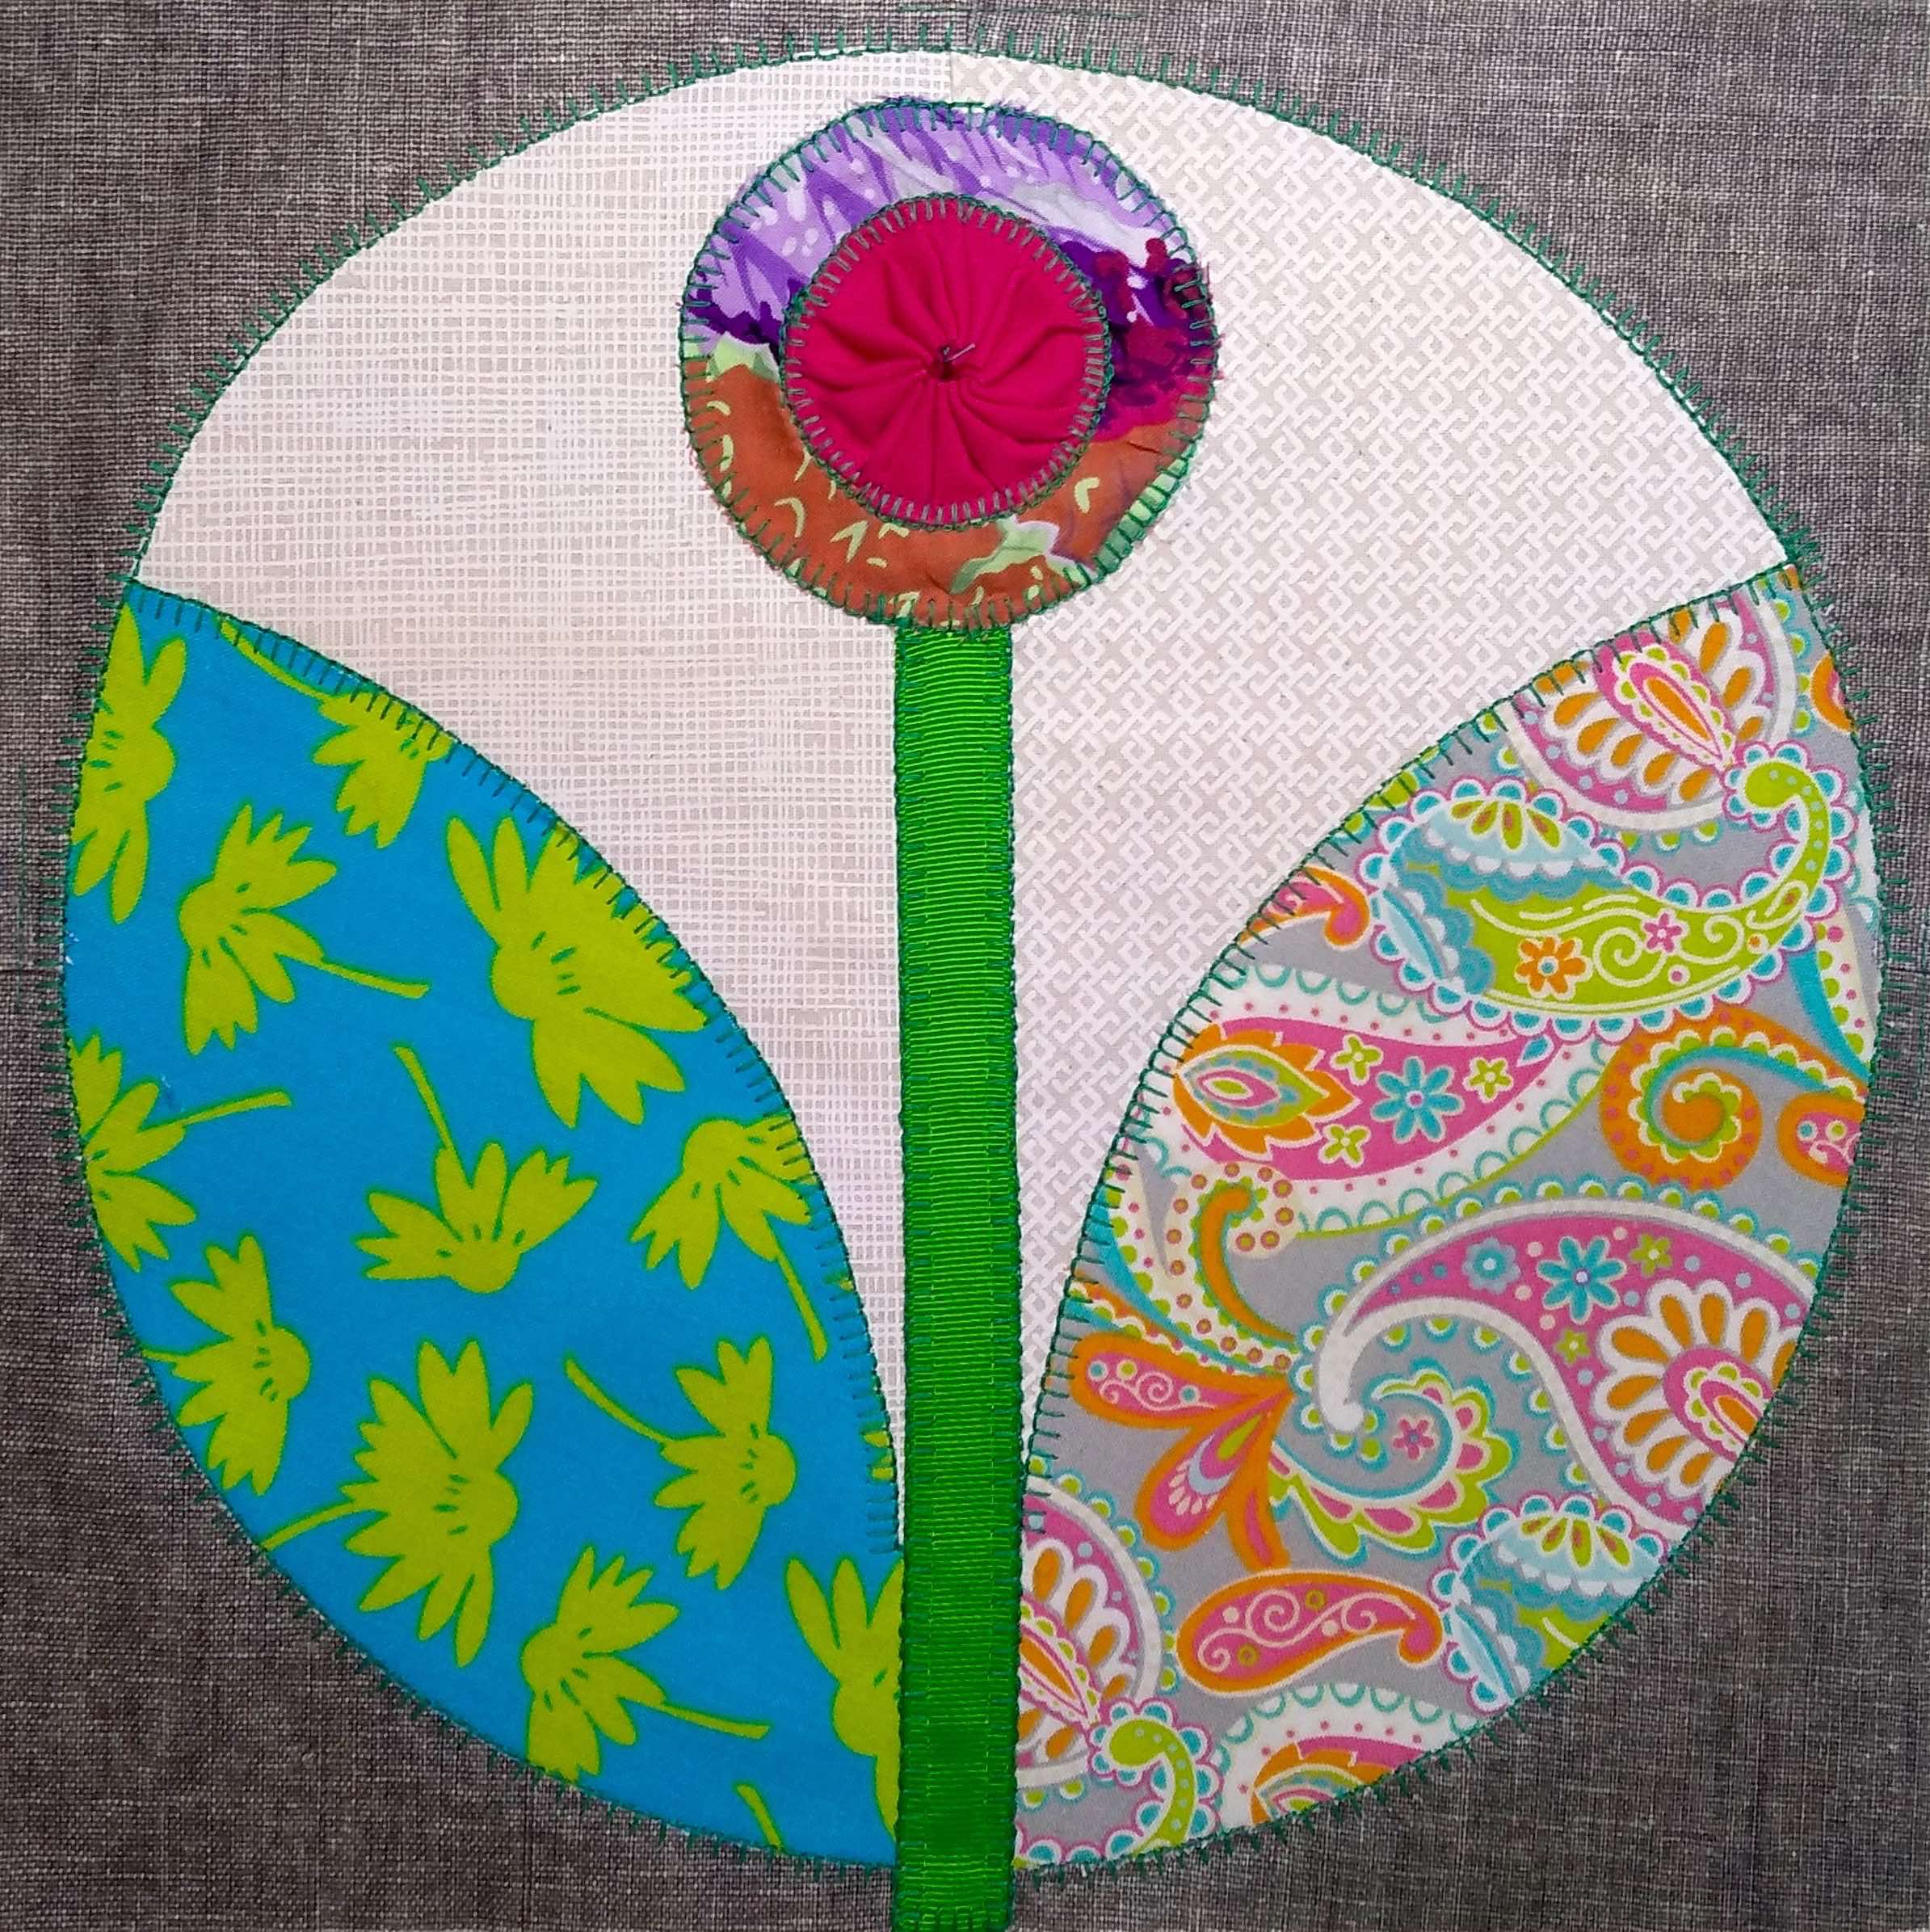
 Et voilà! This is Block 1 of dunnamany, but at least 36.
So, on the offchance that you might want to know how to make it, here’s a few words and pictures.
 Cut a piece of tear-away stabiliser a bit larger than the finished block, and lay it on top. You should be able to see the layout through it fairly easily. If not, thicken the lines with a black marker. Mark the corners of the block on the stabiliser.
 Cut all the templates out of your chosen fabrics. In an ideal world, you should starch the fabrics first, as this makes it much easier to cut the shapes out. Note: I wanted two cream fabrics in each background so I’ve created a template for only half of the background. You can make it all in one piece if you lay the edge on a fold. I use a fine lead mechanical pencil on the right side of the fabric in most cases, and then cut very accurately on the line with scissors.
 Once you have everything cut out, you’re good to go. I’m using yoyos I already have, but to make them in the correct size, you need to use the 4 inch template I’ve drawn. It’s also quick and easy to make them using a yoyo maker: this is the one I like, by Clover.
 Start in the middle with the two background pieces (or one large piece if that’s what you’re going with). Lay them in place and pin to stop them sliding around. Then lay over the leaves, overlapping the seam allowances at the bottom, folding the top one under. Finally, add the two corners. Pin everything in place, flip the stabiliser over and check the back to ensure the seam allowances are even and fully overlapped.
 If all is well, baste down the leaf and inner edge of the corner pieces and remove the pins. Leave the pins in the background and at the bottom of the corner pieces.
 Blanket stitch down the basted edges and remove the basting. Lay down the length of ribbon and lightly dab glue stick on the back. Stick down on the centre line of the background, bottom edge flush with the seam allowance. The top edge will be concealed by the flower. Top this with the 3 inch flower circle. Baste the flower circle in place and blanket stitch both this and the ribbon stem down.
Lay down the last two corners and baste in place, turning under the seam allowances on the arms to give a finished edge. Blanket stitch, and remove basting.
Turn the block over, tear away the stabiliser and trim out the seam allowances and excess fabric behind the flower head. Finally, apply glue stick to the back of the yoyo, stick it down in the centre of the flower and blanket stitch around the outside. In case you’re wondering, that yoyo is dark blue, not black.
And you’re done!