Delft #6: the least fun bit

I have made lots of silent progress.

I’m at the stage of this quilt where I have to stitch everything together, which is absolutely not the fun part. It’s a very great deal of stitching, and was incredibly overwhelming at first. The upside of assembling it all once all the hexies are made is that you can arrange things rather than doing it  as you go, which doesn’t always give the most harmonious results. I’m about 60% done now.

In the photo, the area outlined in red is fully assembled and all the papers removed except those at the outer edges. Outside that, the area outlined in green is assembled into large chunks for ease of handling, ready to stitch onto the central square. Below that, only the flowers are assembled, and the rest is still to go.

The striped fabric for the outer border has arrived and it’s lovely, 1cm wide stripes of dark blue and white. I’m still debating some additional flourishes of some sort, I’ll see what I’m inspired to do once the border’s on.

And of course, it’s finally dawned on me that this is yet another quilt that’s going to need hand-quilting. So yes, I’d better hurry up and finish Anemone, which has stalled rather while I’m slogging away at this one…

Sometimes I wonder why I do this to myself. And then I look at my quilts, and remember.

Blue hexies: evidence of industry

The rain was good for something, after all.

I have 40 hexie flowers made, as well as a bag full of ‘intermediate’ hexies to place between the individual flowers. That’s… rather a lot of work! But I enjoyed it, it gave my hands something to do while I listened to talking books, or YouTube or music.I’ll probably carry on cranking them out when I get home, having got so far ahead these past few days. One thing past experience has taught me, though, is that I need to start assembling too, not just making the flowers. Otherwise the exercise becomes hugely intimidating. Make up blocks, stitch the blocks together, remove the papers, press. If I stick to that routine, it won’t be nearly so discouraging to look at once it starts to grow!

We’re heading home tomorrow. An early start should see us on the road by 9.30am at the latest, and we should have a fairly straightforward run to get back. I’ve made sure there isn’t a laundry mountain to tackle, but we’ll need some groceries, and Mouse will need a while testing out all his beds to see which one he wants to sleep in after being ‘forced’ to occupy just the one bunk while we were away!

When I get back, it’ll be time to choose which of the many projects swirling around in my head I’m going to make a start on.

Exciting!

ScrapHappy February

Welcome once again to ScrapHappy Day!

It’s the day my friend Gun in Sweden and I host ScrapHappy, a day for showing something made from scraps.

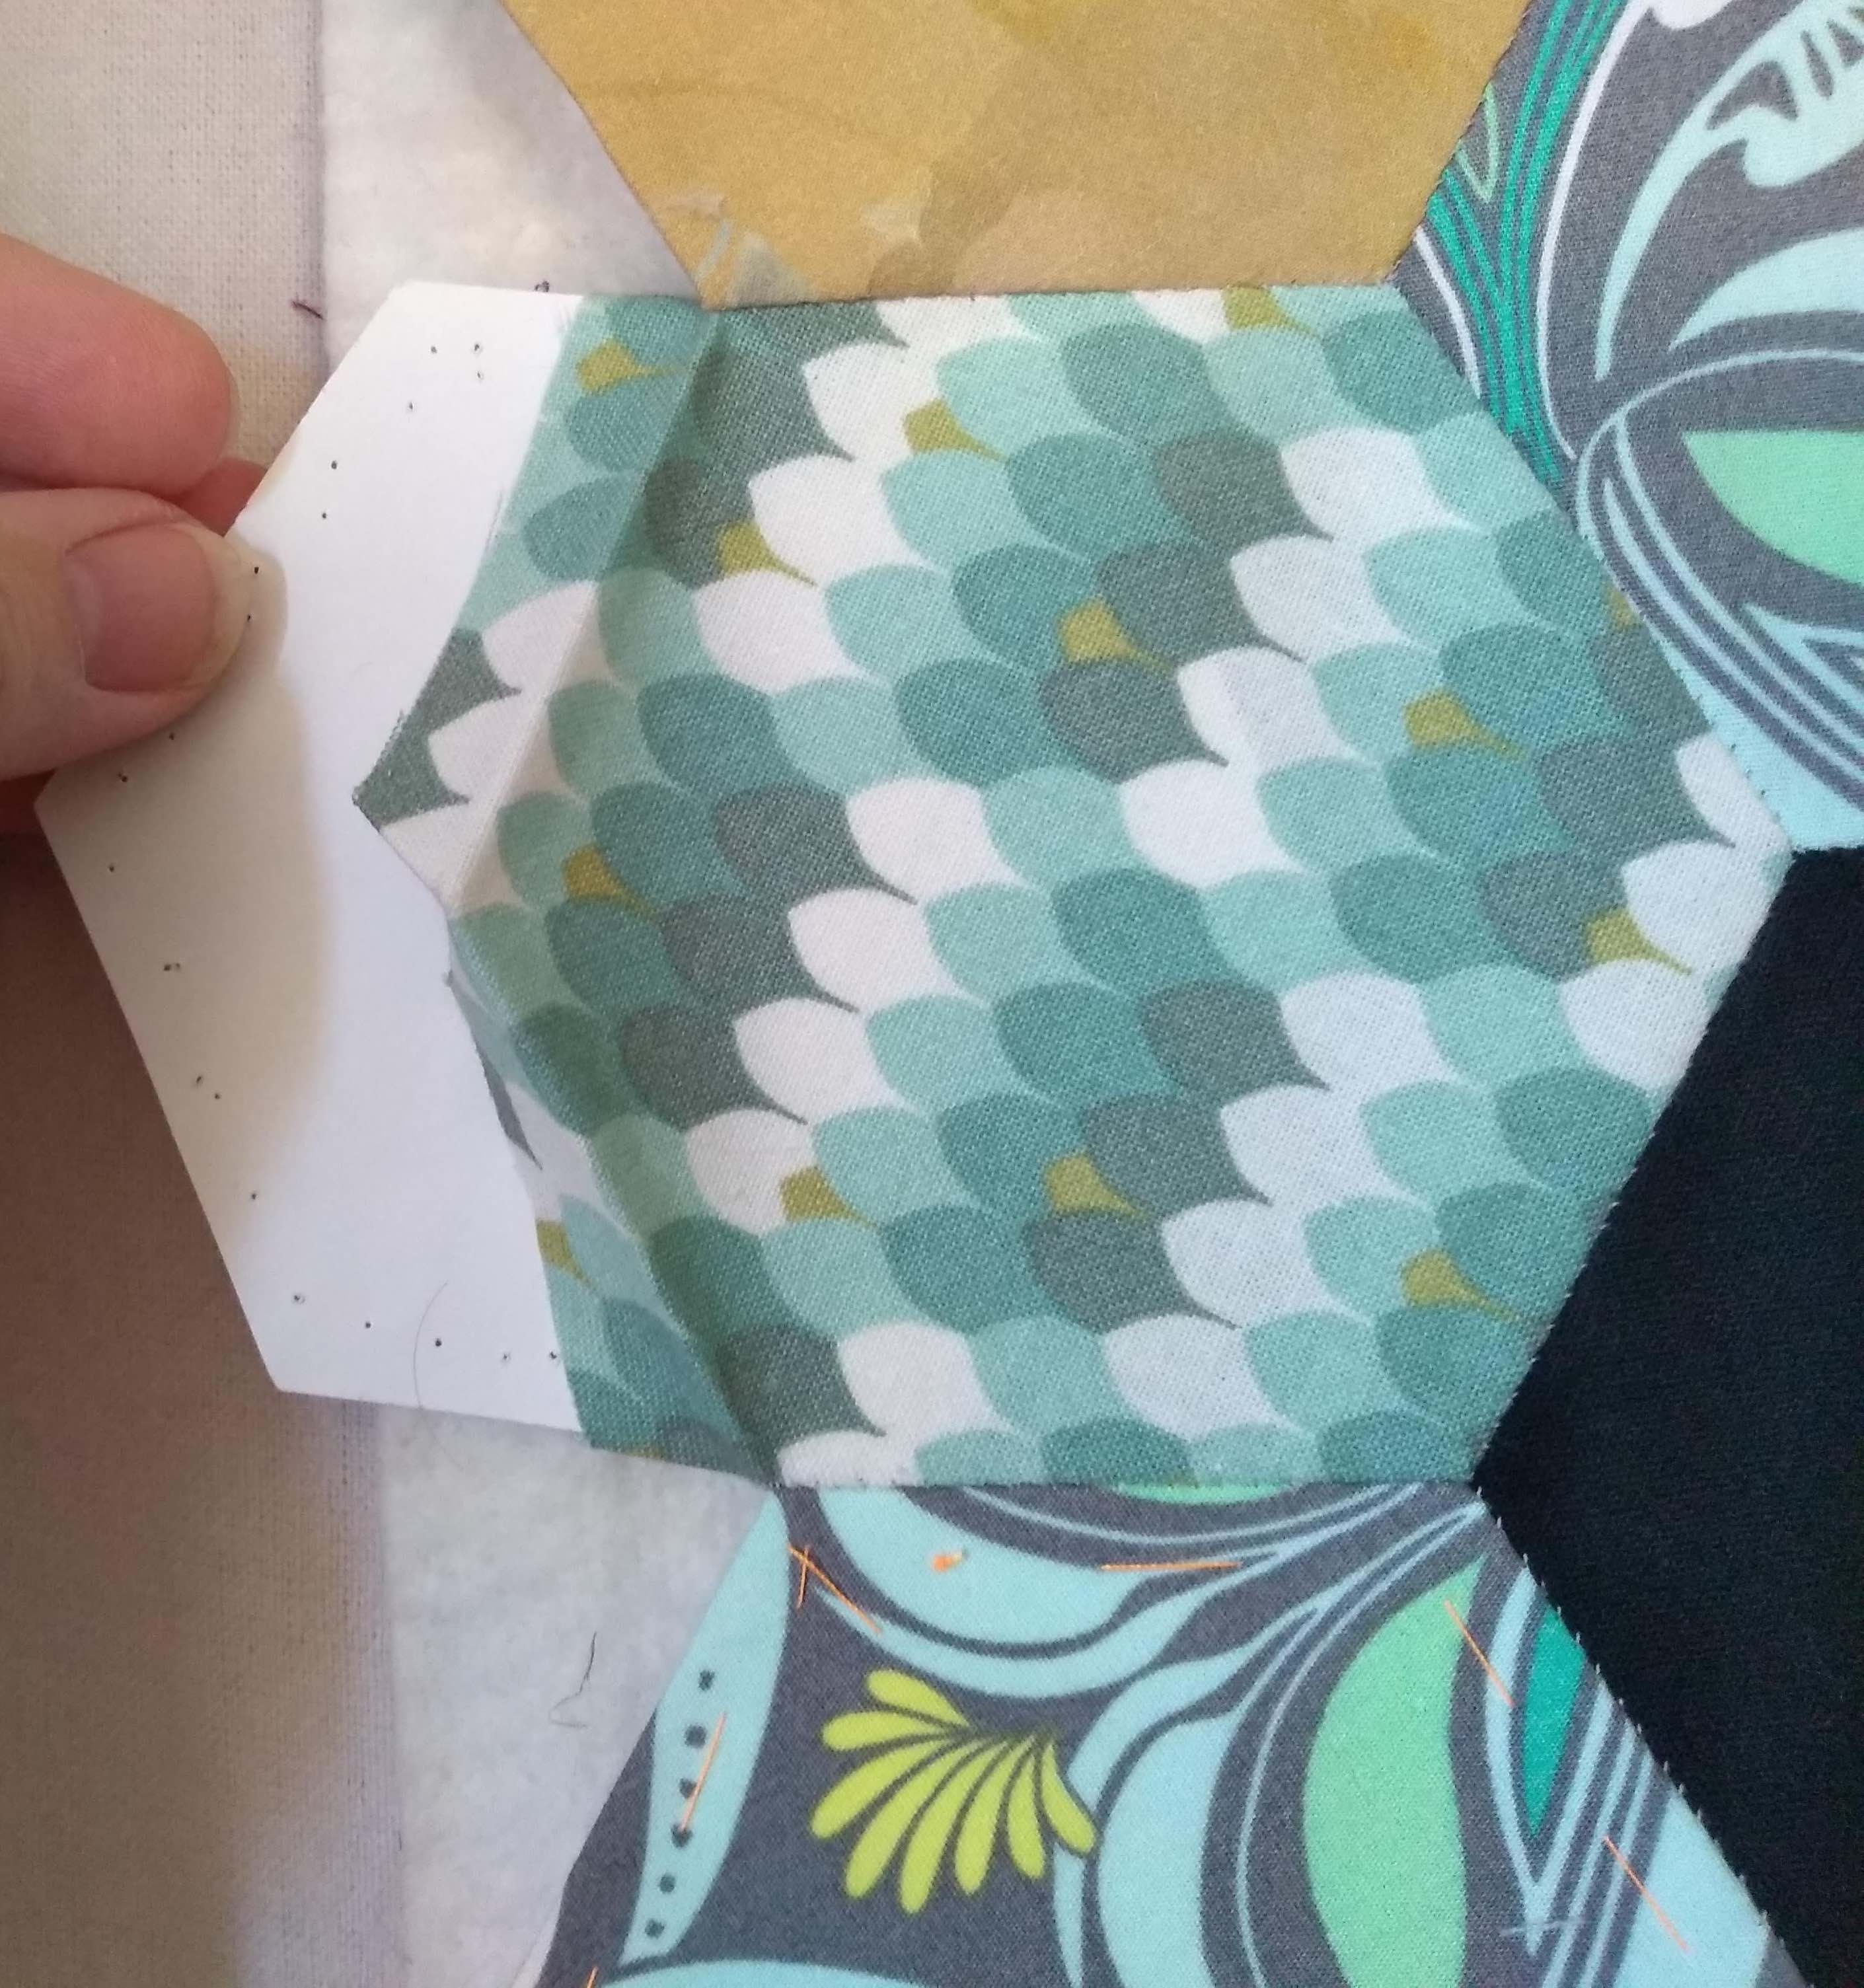
And here it is, the third and final piece of the prize trio I’ve made from the Days for Girls scraps. You’ve seen the completed cushion cover (third prize), and more recently the completed Days Gone By hexie quilt (first prize), but I’ve finally got the table runner finished as well, the second prize. This piece uses up the very last flower, the absolutely last hexagon made for the fundraiser. Metres and yards of perfectly usable and useful fabric saved from landfill.

The backing for this table runner is made from offcuts of the backing I made for the quilt, itself made from leftovers in my stash. The binding is made from the spotted spacer fabric I used for my Anemone quilt. It’s truly scrappy. Even the batting is offcuts.

Raffle tickets are now printed and ready to go. If you’re interested in buying one, go to the Days for Girls Mackay FaceBook page to see how. Just AU$5 a ticket for a chance to win the quilt, table runner or cushion cover, or 3 tickets for AU$10. However, at present, payment options are only available to Australian residents.

I know that several of you have expressed interest in buying tickets. Anyone not in Australia who’d like a chance to win, please get in touch with me/leave a comment so we can discuss options. For any of my readers outside Australia, we will have to ask you to pay for postage and packing if you win any of the prizes; for readers within Australia I will donate postage to a destination further than 50km outside the Mackay area. The draw is on 20th March.

And now, I’m ready for some squares. Or rectangles. Or triangles. Anything other than, you know, hexies… Onwards. I have lots of ideas for more fundraiser items, and bags and bags of scraps await!

ScrapHappy is open to anyone using up scraps of anything – no new materials. It can be a quilt block, pincushion, bag or hat, socks or a sculpture. Anything made of genuine scraps is eligible. If your scrap collection is out of control and you’d like to turn them into something beautiful or useful instead of leaving them to collect dust in the cupboard, why not join us on the 15th of each month? Either email me at the address on my Contact Me page, or leave a comment below. You can also contact Gun via her blog to join. We welcome new members. You don’t have to worry about making a long term commitment or even join in every month, just let either of us know a day or so in advance if you’re new and you’ll have something to show, so we can add your link. Regular contributors will receive an email reminder three days before the event.

Here are the links for everyone who joins ScrapHappy from time to time (they may not post every time, but their blogs are still worth looking at). This month, we have two new participants: say hello to Dawn 2 (sorry, I don’t know your surname initial!) and Noreen.

Kate (me!)Gun, EvaSue, Lynn, Lynda,
Birthe, Turid, Susan, Cathy,  Tracy, Jill,
Claire, Jan, Moira, Sandra, Chris, Alys,
Kerry, Claire, Jean, Jon, HayleyDawn,
Gwen, Bekki, Sue L, Sunny, Kjerstin,
Vera, Nanette, Ann, Dawn 2 and Noreen

Please note As I have not heard from anyone who has not posted for a year but who still wants to stay on the list, I have now removed those names. If you’d like to be reinstated, let me know, but it would be good to see you posting again!

See you next time for more scrappy loveliness.


and Dawn

Days Gone By: done deal

‘Tis finished, people.

Last night I set the last stitch in the binding and the label. It’s finally finished and ready to be handed over to Days for Girls next weekend, when our Saturday morning stitching sessions begin again after the summer break.

A couple of weeks ago, I handed the completed top and back and a large piece of batting over to a very kind lady called Judith, who is a long-arm quilter and who had graciously agreed to quilt it for free. On Thursday I got it back, beautifully stipple quilted, plus all the offcuts. For those not in the know, when a quilt is long-arm quilted you need to make the backing and batting at least 5 or 6 inches larger all round than the quilt top. I had been generous with both batting and backing, and I got one substantial piece and several smaller pieces of both back. Enough, in fact, to do the batting and backing for my table runner, also for Days for Girls.

I made binding from a number of partial or discarded jelly roll strips from other projects. I have some left over, but not, I think, enough to bind the table runner, so I’ll need to dig out more scraps for that.

So, without further ado, the photos. Appreciation to the Husband, who did the holding up.

front

Back

And the label:

A final summary for anyone not already familiar with this lengthy project: the quilt front is made from scraps left over after cutting out the pieces that go into the Days for Girls kits. When I joined the group, I was horrified to see usable pieces being simply thrown away. It meant that all the donated money and fabric was being partly wasted, so I determined that I’d find a way to rectify this. Days Gone By is the result. The backing and binding are made from scrap fabric from my own stash, which had not yet found another purpose. The only new parts of this quilt are the batting and thread, without which it would not be a quilt at all. It’s a truly scrappy, minimal-waste quilt.

It has been a very long pull. Some of you may recall that a large piece of assembled hexies was lost at the end of September 2019, and I had to start again. It was hard, but start again I did, and finally we’re across the line. This quilt, the table runner still in progress and the cushion cover I’ve shown earlier will all be raffled to raise funds to purchase fabric and other supplies for more Days for Girls kits. Although we have been unable to distribute the kits we make because of Covid-19, we haven’t stopped making them, and when travel restrictions are finally lifted they will once again go to the women and girls whose lives are changed and improve by them.

On to the next DfG quilt. This time I think I’ll go for something a bit quicker to make!

ScrapHappy January

Welcome once again to ScrapHappy Day!

It’s the day my friend Gun in Sweden and I host ScrapHappy, a day for showing something made from scraps.

Here’s to a much happier and more hopeful and creative year for all of us. With that in mind, I gave my creative urge a swift boot up the backside, and took out the scrappy table runner I’ve been making forever for a while for Days for Girls to raffle at their fund raiser, together with the quilt (now at the long arm quilter!) and the cushion cover previously shown. I’m just over a third of the way through. Here’s where I’ve got to:

And here’s the next batch, waiting for the black separator hexies and then assembly.

(Sorry about the rather garish background, but I had to find a place where I could get enough light on the subject, and the kitchen floor mat had the best lighting.)

After that there will be a smaller section at the end. To finish the whole thing I think I’ll appliqué it to a rectangular background before sandwiching, quilting and binding. I have a bit of time; this is going in the raffle in mid March, but is needed for photography end of February.

ScrapHappy is open to anyone using up scraps of anything – no new materials. It can be a quilt block, pincushion, bag or hat, socks or a sculpture. Anything made of genuine scraps is eligible. If your scrap collection is out of control and you’d like to turn them into something beautiful or useful instead of leaving them to collect dust in the cupboard, why not join us on the 15th of each month? Either email me at the address on my Contact Me page, or leave a comment below. You can also contact Gun via her blog to join. We welcome new members. You don’t have to worry about making a long term commitment or even join in every month, just let either of us know a day or so in advance if you’re new and you’ll have something to show, so we can add your link. Regular contributors will receive an email reminder three days before the event.

Here are the links for everyone who joins ScrapHappy from time to time (they may not post every time, but their blogs are still worth looking at). If you’ve copied this list from previous posts, please use the one below as it’s the most up to date

Kate (me!)Gun, TittiHeléneEvaSue, Lynn, Lynda,
Birthe, Turid, Susan, Cathy,  Tracy, Jill, Claire, Jan,
Moira, SandraLindaChrisNancy, Alys, Kerry, Claire,
Jean, Jon, HayleyDawn, Gwen, Connie, Bekki,
Sue L, Sunny, Kjerstin, Vera, Nanette and Ann

Please note that I will be going through this list shortly, removing the names of anyone who hasn’t posted for a year or more. If you know that’s you but you’d still like to be left on the list because you have something coming up, just email me and I’ll leave you in.

See you next time for more scrappy loveliness.

Days gone by…

No, I’m not talking about the holiday.

I’m rather proud of myself. I took the Days Gone By hexie scrap quilt along with me in case I had some free quiet time to just stitch and listen to the birds. I didn’t think I would, but we had some rainy days, and time when the Husband wanted a snooze or to watch a movie and I didn’t.

I set myself a goal of adding another two rows. It seemed a doable quantity, and it would finish the shape off nicely. Sorry about the shot, it’s laid out on my bunk in the caravan.

I got them made! (Laid out on the Husband’s bunk this time, that’s his quilt).

Next job was to add the strip to the existing piece. And I’ve done it. The centre panel is now a decent size and shape.

I’m calling time on the hexies, and will border this quilt with squares, probably arranged as 9-patches. With individual squares at two inches finished it’ll be about right, because most of my scraps will easily produce squares of two and a half inches. Plus it’ll make an interesting contrasting border. The hexie edge will need to be appliquéd onto the 9-patch border, and that will be the last of the hand work.  However, there are still a good few hexie flowers left, but in colours which are too pastel to work well in this piece. I’ll probably turn those into cushion covers, which can either be raffled separately or as a set with the quilt.

It’s the hand stitching that has made this quilt so long winded. It’s time to turn up the dial and get something made that Days for Girls can finally raffle to raise funds. Time to start pulling out Days for Girls scraps to start assembling border blocks.

It’ll be nice to have some decent progress to show, for a change.

Anemone: creeping along around the back

It’s slow, fiddly work, but will be so worth it.

Here’s the exact how-to, with pictures to make all clear (hopefully…).

Trim the edge of the backing and batting away from the quilt top by about 3/16″. I prefer the minimum necessary, and think a quarter inch is too much, the outer hexies get a floppy edge.

Stitch your hexie facing together in pairs. Offer up a pair to the edge of the front, and hem the facing to the front using tiny stitches. It helps if you pull the facing back a tiny bit to give you a clear space to run your needle between the fabric layers..

Stitch both sides of the pair to the outer edge of the quilt front. Stop and knot off. You can see the stitches if you look very carefully, but they are small and neat, and with this ‘hemming’ process they’re not right on the edge and will resist wear a bit better.

Take your next facing pair. You need to stitch the right hand edge of the right hand hexie to the left hand edge of the one you’ve just finished sewing in. Lay them face to face and stitch inwards towards the centre of the back. Knot off, and flip the other half over. Now you’re ready to sew the next top edge.

At this point, I like to undo the basting on the previous pair and pull out the paper. I fold the seam allowance back in tidily and pin the free edge down through the quilt layers to secure it.

Once all the facing hexies are sewn onto the outer edge, you’ll come back to this inner pinned edge and hem that down too. After that, you’re ready to start quilting. Because the batting goes right up to the edge, you can also quilt right to the edge if you wish.

Yes, it is labour intensive, but doesn’t it give a pretty result?

Anemone: facing the next stage

That’s a big chunk of work completed.

First on the agenda was to snip away the excess fabric on the back. It’s not really necessary, but I’d like this quilt to be as soft and supple as possible, so it was worth the investment of time.

Following a few more hours of work today, the quilt is sandwiched and trimmed out. It was a tricky one to sandwich because there’s no straight edge to line things up to, the light, soft fabric of the backing is harder to control than firmer regular backing, and the quilt itself needs to be handled a bit more gently than usual because of all the hand sewn seams around the edge.

The easiest way to manage the job turned out to be first sandwiching the backing and backing on the floor, then hanging that up on the design wall, batting side out. Onto that I pinned the quilt top, just along the top edge, and then I rolled it up and sprayed adhesive onto the batting from the top down, unrolling the top and smoothing out as I went along. I masked everything off with pieces of plastic drop sheet, which I seem to be able to get several uses out before they get impossibly gummed up!

I’d left the outer row of hexie papers in place to stabilise the edges, stop stitches unravelling and keep the folds crisp till they could be stuck down permanently.

Once the top was in place and smoothed out, I went round the edge unpicking the basting, gently pulling out the papers and sticking the hexies back down again.

Then I pinned each hexie on the outside edge through the sandwich, and finally, I trimmed out the excess batting and backing.

Now I’m ready to start assembling sections of the facing and stitching them in place along the outer edge. Finally, I’ll hem the inner edges down onto the backing. And then, and then, I can start quilting!

I’m having to take things a bit slowly just now. My back is going through a rather painful phase, and to top that off, I put my foot down a hidden pothole in the grass when I was walking Mouse the other day, and I’ve managed to tear the ligaments down the outside of my right ankle. There’s some quite spectacular swelling and bruising, and I’m lurching around in a rigid brace. Happy days….

Never mind. In a while, I’ll be able to sit contentedly and start hand quilting this baby 🙂

Anemone: back at it

Did you think I was taking a break?

Nope. I’ve spent the past two days adding the additional columns of hexie flowers at left and right. It’s laborious. It’s fiddly. It’s, dare I say it, booooorrrrinnnggg. But it’s done. The front is finished. I’ve even taken out all the papers except those at the extreme edge. But it looks exactly like the last version I showed you, so no photo of that.

Once it was all in one piece, I counted up how many hexies I’d need for the facing on the back. Turns out it’s 78, or 39 each of the spot and floral fabrics. I’ve made a start, so I thought I’d show you what I plan the back should look like:

What do you think?  I find it fresh and pretty, and a quiet antidote to the riot of colour on the front, without being dull. The backing fabric will go right up to the edge of the front hexies, and then be trimmed back just a little so the edge is nice and flat rather than thick and bodgy. Where the outside edge of the front and back hexies meets, I’ll whipstitch them together, edge to edge. Where the inside edge of the hexies meets the backing fabric, I’ll hem them down onto the backing. Does that help to explain the plan?

Because these edging hexies will also need to be quilted, the facing has to go on before quilting, so that’ll be the final stage. It’s going to take a fair while to get there, so don’t hold your breath.

Next steps: finish making the facing hexies; piece together the backing; trim out excess fabric on the reverse of the quilt top; cut batting and spray baste the quilt sandwich; trim away excess backing and batting; stitch together sections of the facing, press hard, remove papers and whipstitch to outside edge. There will be some easing required, I think, so I won’t be hemming down the inside edge till right at the end. And then it’ll be time to quilt!

Now, excuse me, I have an appointment with another 44 hexies.

Anemone: facing facts

Sorry, sorry, yet more puns…

So, the back of the Anemone quilt. I’m not going to straighten out the edge and give this quilt a conventional binding. I have plenty of straight edged quilts. No, I’m going to face the ziggy zaggy edge with yet more hexies on the back. Lots more handwork to do…. Firstly, I have to make all the hexies for the facing. Then I’ll layer it with batting and backing and spray baste the layers together. I’ll trim out the excess of both backing and batting so it’s back a quarter inch from the edge of the outer hexies, and then I’ll lay down the facing on top. The facing strips will need to be assembled into long strips. I’ll starch and press the bejasus out of them, remove the papers and gently lay the strips on top of the backing and quickly pin them in place. I’ll need to whip stitch the outer edges of the quilt together, and finally, hem down the inner edges of the facing onto the backing.

The main backing is going to be this nice blue and white voile in the leaf and animal print. I’d originally bought it to make clothes, but I’m a voile convert for a quilt backing because it feels so soft and lovely when it’s quilted. The facing will combine the navy and white spot with the pink floral. I think this is a pretty combination, and will produce a reversible quilt where the back is just as pretty, if a lot less colourful!

I’ve decided what I’m doing for the quilting. It’ll be offset hexies, the same size, but overlapping the intersections, like a ghostly outline of a second quilt overlying this one, but slightly ‘slipped’. Hard to describe, but hopefully all will make sense once I can show some progress. I’ve decided on a medium-pale grey quilting thread, which will blend nicely into most of the colours and only show a bit on the black.

The original plan for this quilt included entering it in Mackay Show in June. The Show has been postponed to who knows when, so that’s not exactly a deadline any more. But one of the show criteria is that quilts need to feature a hanging pocket. Given that this won’t have a straight edge, I’m having to consider how it might be hung, and I’m thinking tabs along the top edge. Time enough to finalise that. So, quite a lot still to be done…

… in case you thought this baby was in the home stretch!