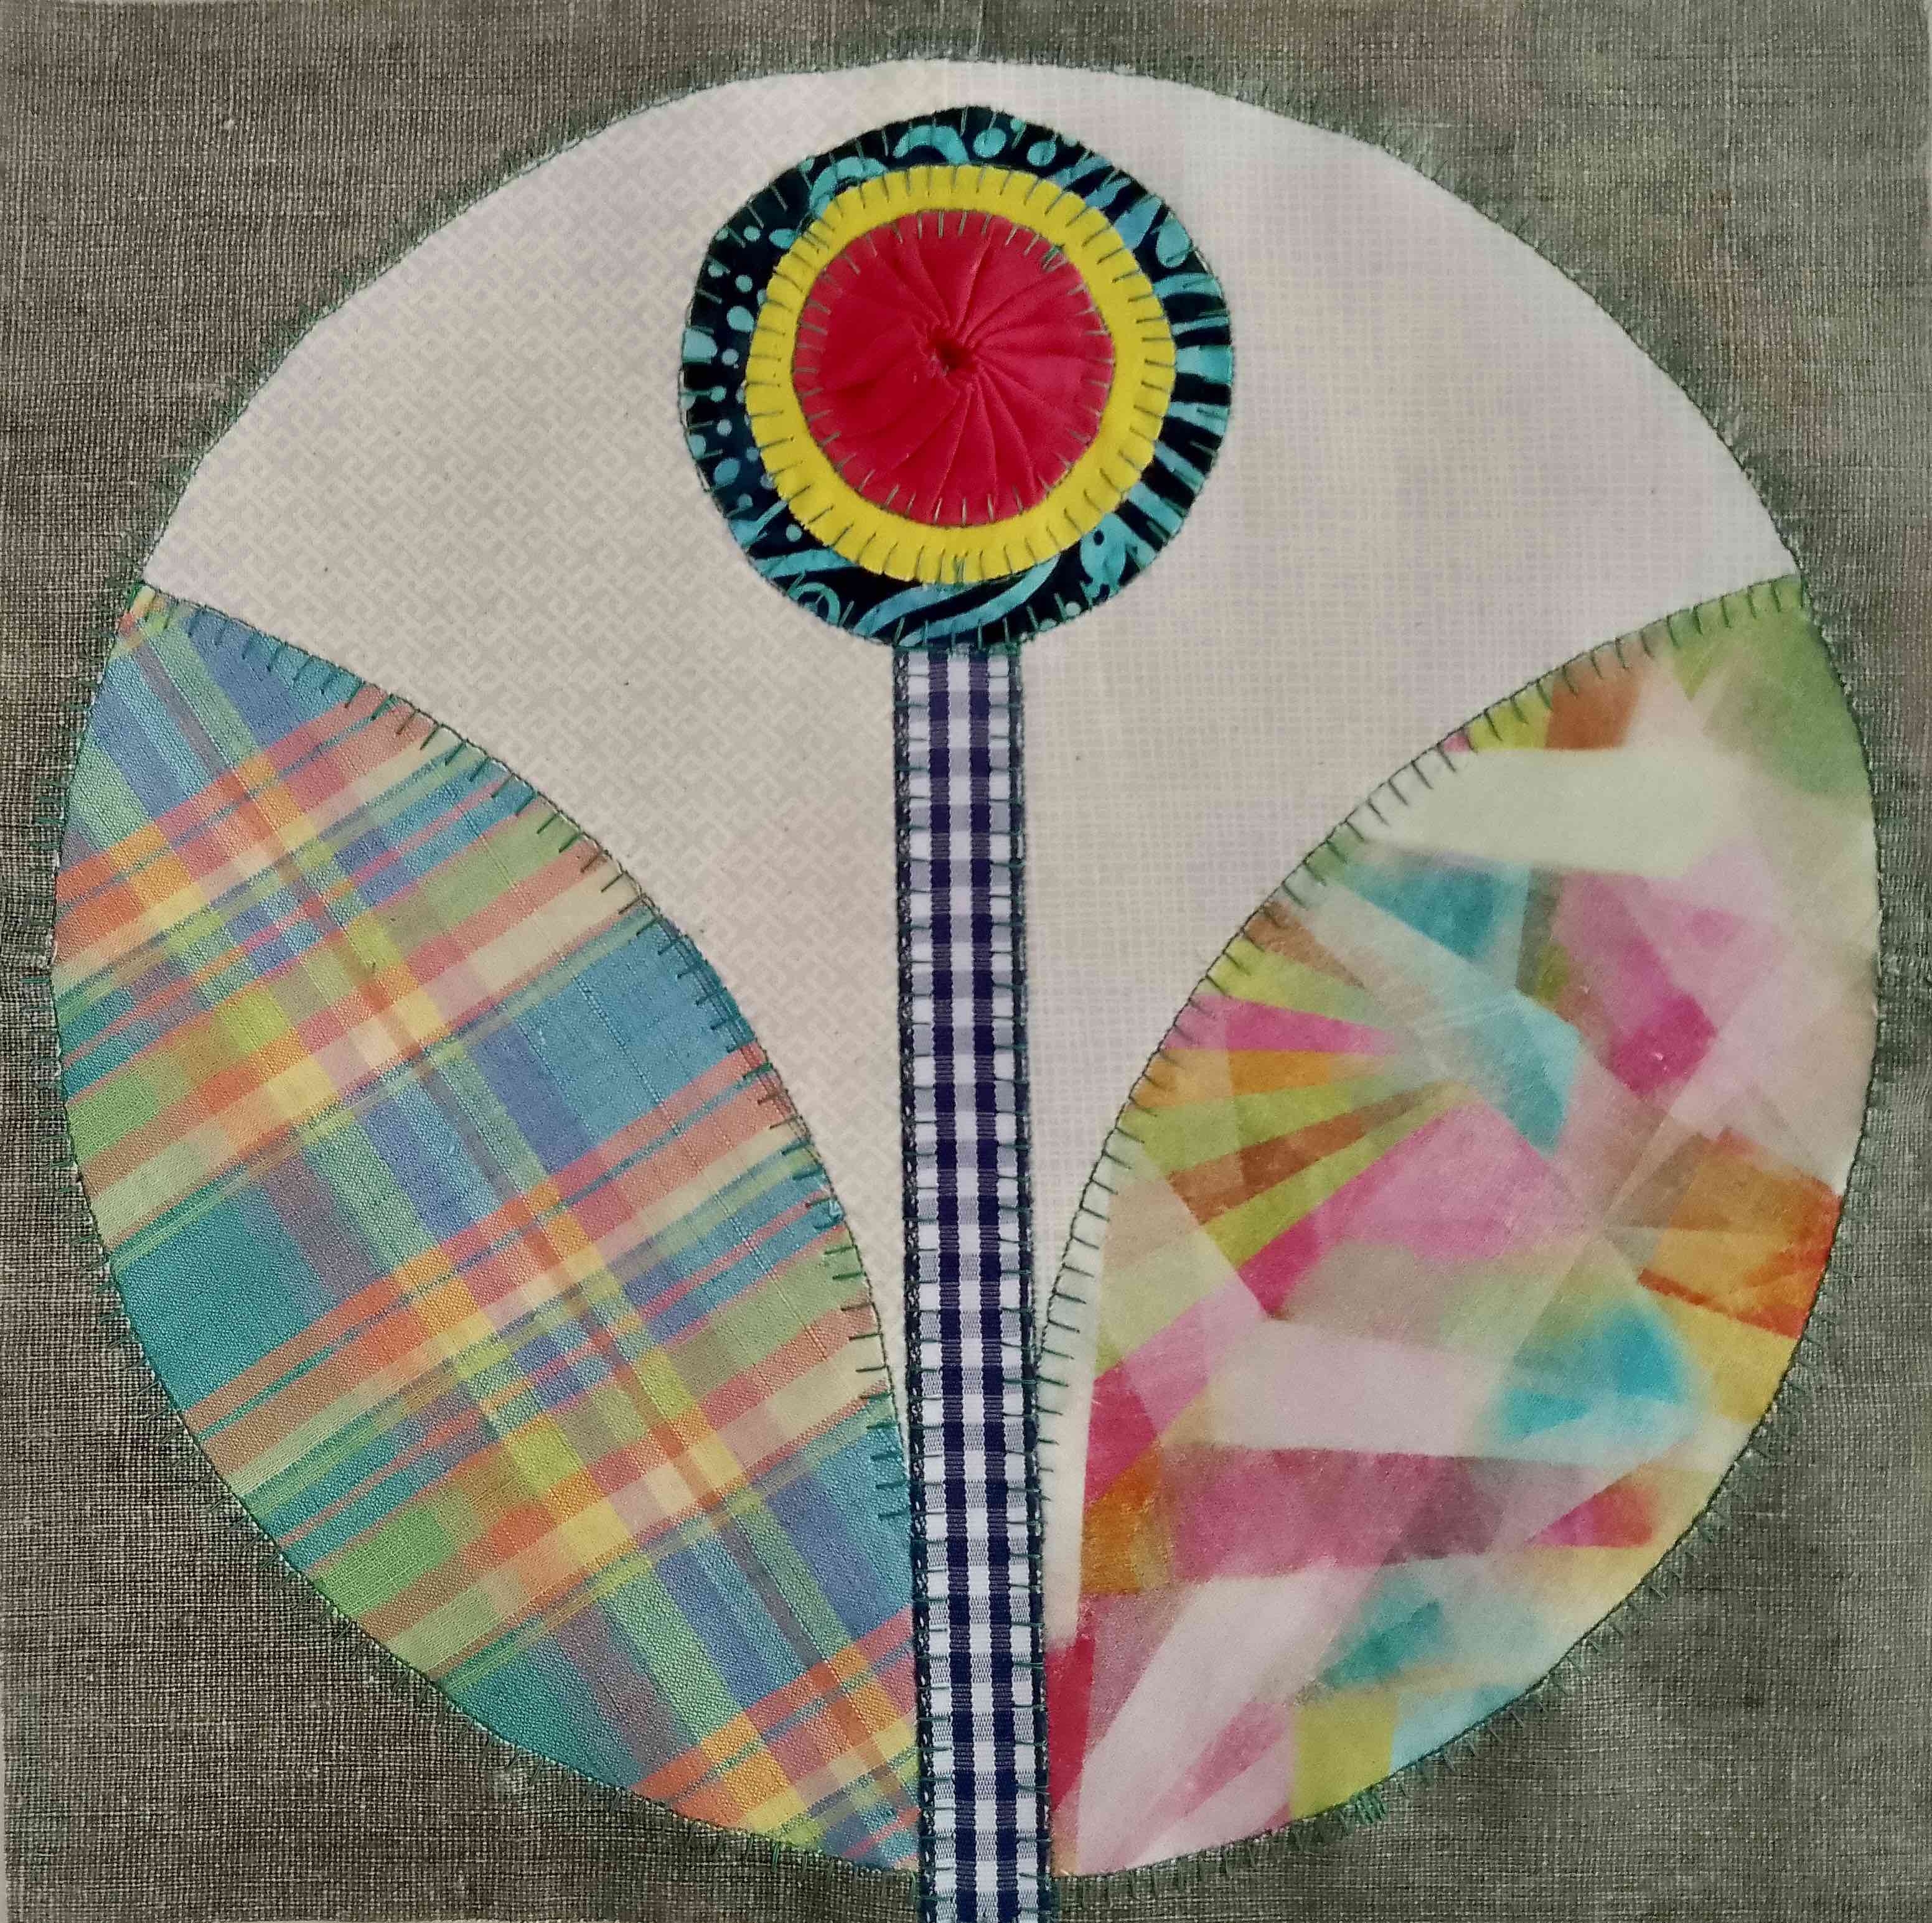
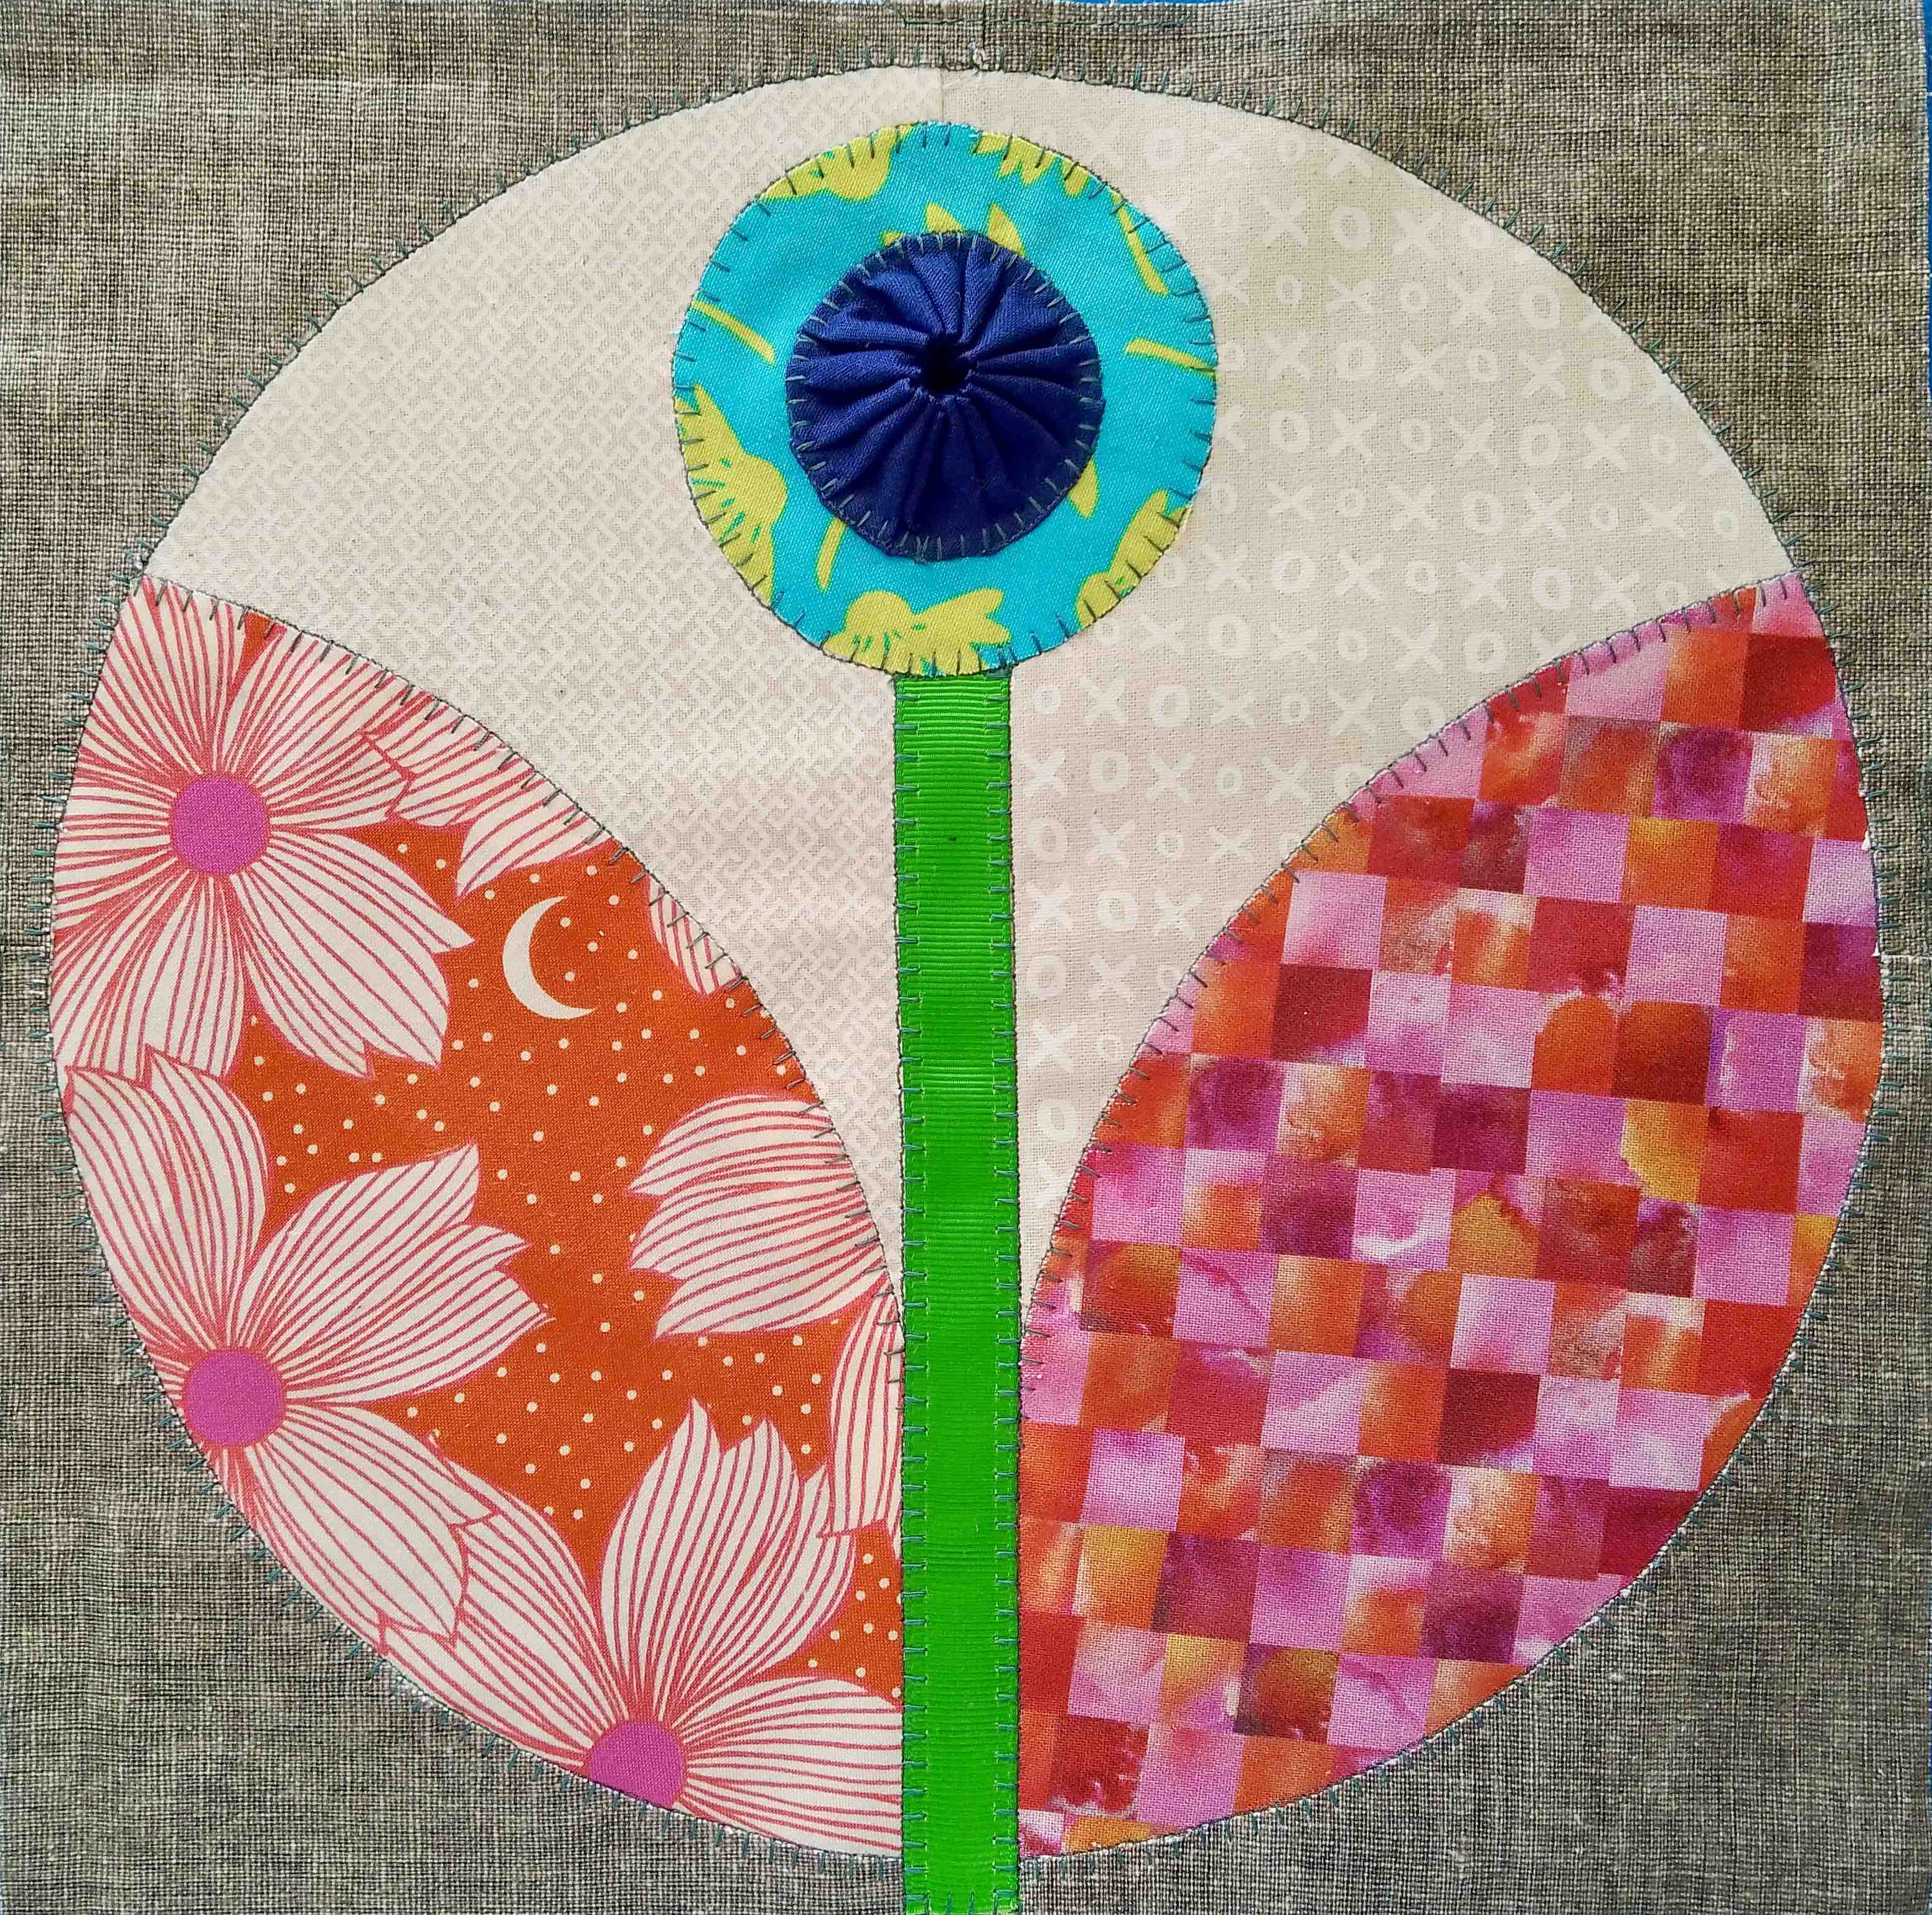
I finally got to the point where I could start stitching the first couple of hatbox blocks. Only I didn’t leave it at two…
 It made a few things clear:
• I definitely need tear away stabiliser.
• Starching the fabric for the appliqué pieces helps a lot.
• I can stop being neurotic about the Y seams at the intersection of each cubbyhole.
Up to this point, I’ve used fusible web behind each piece when I’ve done machine appliqué. It has the virtue of holding everything firmly in place while I’m stitching, but the disadvantage is that it adds stiffness and a small amount of extra bulk. Also, it makes trimming out the fabric behind it quite hard. Not using the fusible web means that the pieces can shift a fair bit, so I’ve been hand-basting, which seems to do the trick, even if it’s a bit time-consuming. I’m happy with the result. The stabiliser stops puckering at the seam and channelling of the blanket stitch, so things stay nice and flat.
As for the Y seams, well, that whole section gets cut away, so on the first block I evaded the issue by not sewing completely into the corners. Slack, I know, but it worked! And having taken the pressure off myself, the next Y seams were perfect anyway…
The trickiest part is keeping the long thin banana shape of the hatbox rim stable. Hence my extensive use of starch, which seems to do the trick in preventing it warping or stretching and makes the fabric crisper while I’m drawing around the templates.
The blocks don’t actually take that long, but it’s fiddly: Change the thread to white. Assemble the 3 cubbyhole pieces with a Y seam. Change the thread to red. Cut out the 3 hatbox shapes, being sure to align patterns where necessary. Baste, appliqué, baste, appliqué, hand baste, appliqué. Remove basting, tear away stabiliser, trim out excess fabric behind, press.
I love these blocks as a way of showcasing the fabrics I’ve been collecting for this quilt for over 5 years… It’s nice not be cutting them up too much, and as an added bonus, it’s generating some very nice scraps for my postage stamp blocks :-). Oh, and at the rate I’m going, this project will take a lot less than a year!
Don’t forget to hop over to Carla’s blog to see what the others are up to. You can also click on the Bee, Myself and I button in the left hand column to go straight to the bee page.
Only 32 blocks more to go….
 I won’t leave it so long another time. One of these fine days, I’ll have made all the blocks I can (the grey background is a limited quantity and will determine the final number), and it will be time to start thinking about how I’m going to assemble it. I do have sashing for it already, so sashing is a given. The quilting is another story.


